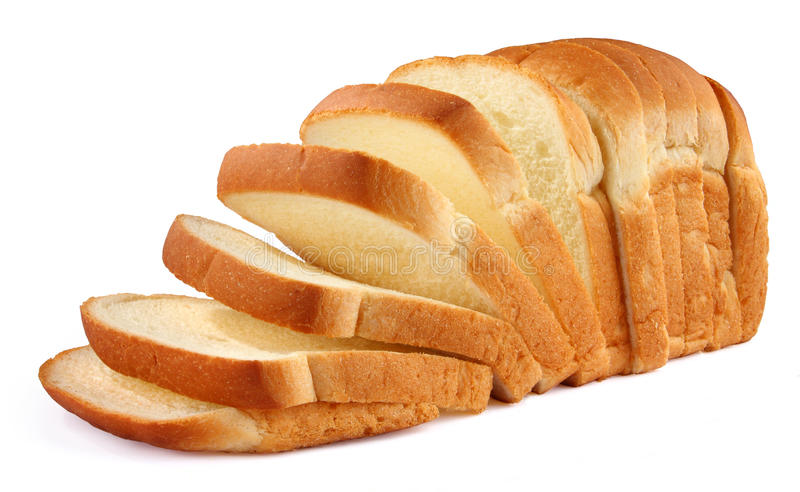
We asked Heart Matters readers, as well as some of the Heart Matters team, for their best baking advice. Follow these tips for bread that comes out right every time.
1. Use the right yeast
There are three main types of yeast: fresh, fast-acting dried (also called ‘easy blend’ or ‘easy bake’ yeast) and active dried, so check your recipe. Most bread machines use fast-acting/ easy-blend dried yeast. This is usually the easiest type to use in home baking, too.
2. Store your yeast properly
Make sure your yeast is in date. Dried yeast should keep for a few months, but really old yeast won’t work and your hard work will have been in vain. Fresh yeast needs to be kept in the fridge and will only last a week or two, though you can freeze it for up to three months.
3. Treat salt with care
Most bread will include some salt, but too much salt in the diet contributes to high blood pressure. Measure it out carefully so that you don’t use more than you need. Making your own is a good way of keeping the salt levels down too as it enables you to experiment - you may be able to use less than is in the recipe. Salt will also inhibit the action of the yeast, so when making bread by hand or in a machine, avoid adding the salt right next to the yeast.
4. Take your time
The best results come when you give your dough the time it needs to rise (though see points 8 and 9 below). You can get on with other things while you’re waiting. Soda bread doesn’t need to rise so is the best option if you’re in a hurry. It is also an easy bread to get started with.
5. Try different flours
The quality of the flour can make a real difference to your loaf. Different brands do vary. Extra-strong or Canadian flours, which are naturally higher in gluten, may give you a better rise than standard bread flours – especially if you’re making wholemeal bread, which doesn’t always rise as well as white bread.
 6. Measure carefully
Small differences in the amount of water, yeast or salt can make a big difference to your finished loaf. Too much heat will kill the yeast, so don’t prove it in a very hot place, and use water that is warm rather than hot. Test the water with a clean finger – it should be about body temperature. You can also use colder water if you want a slower rise.
7. Consider vitamin C
Vitamin C strengthens the gluten in flour, which can give a better rise, and help dough to rise more quickly. You probably won’t need it if you’re making white bread, but if you make wholemeal bread and it doesn’t rise as well as you hoped, you could try a little vitamin C next time. This can be particularly useful in bread machines.
If you’re making bread by hand and leaving it to rise for a long time, it might be best not to use vitamin C as it can speed things up too much. You only need a tiny pinch of vitamin C powder (available in some health food shops or online), or you could crush a vitamin C tablet and use a small pinch of that. Some ‘easy blend’ yeast contains added vitamin C already. You can also try adding a little lemon or orange juice to provide natural Vitamin C in your bread.
8. Practice makes perfect
When you make bread by hand, kneading and shaping it lets you can get a good feel for the dough and its elasticity. If it seems too sticky, leaving it for 10 minutes after mixing can help. Remember, you will get better as time goes on.
9. Don’t prove for too long
Rising times vary according to the recipe and the temperature of the room, but 1-1.5 hours is typical. Don’t just forget about the dough and leave it proving indefinitely as longer isn’t always better. Eventually the dough will sink back again as the carbon dioxide generated from the yeast will dissipate over time, so over proving is not a good idea.
10. …unless it’s in a cool place.
If you want to leave the dough to rise for longer, like while you are at work or overnight, just put it in a cold place such as the fridge, or an unheated room in winter. Then take it out to warm up a bit before you shape it.
11. Toppings
If you’re making bread with toppings, then always prove it twice - once before and once after adding topping and shaping it in the loaf tin or baking tray.
12. And don’t forget…
Making bread by hand can be very therapeutic and gives you a real sense of achievement


